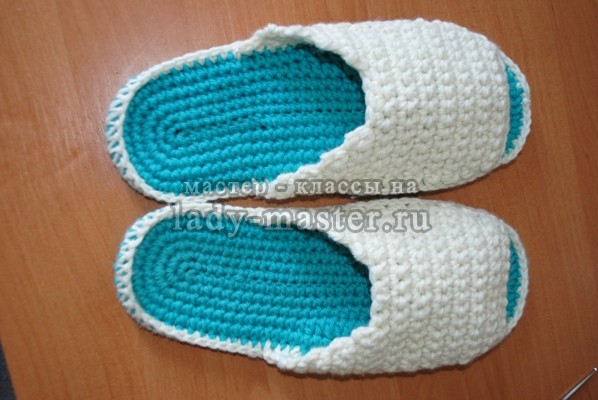
Crochet soles for slippers video tutorial. Crocheted house slippers: patterns, video and description. Benefits of crocheting slippers.
Beautiful and cute house slippers will decorate any home. Meanwhile, you can make such a beauty yourself. All you need to create your own little masterpiece is thread and a hook (or knitting needles). In addition, a person must know the rules of crochet for beginners. To do it yourself, use very dense threads.
Flamingo Wade's advice for life, Speak in a crowd, Spend time with your flock, Find the right balance. Show your true color, keep your beak clean, and don't forget to get your feet wet! Start with right leg, or in this case, getting off on the right foot with this wonderful project! Although these slippers were designed for a 6 month old baby, changing the hook sizes may increase the size of the pattern for a slightly older baby.
Tips in the "My Notes" section below. Using these guidelines, go make ducks, geese, peacocks, toucans, parrots, cockatiels, pelicans, or any other fun bird! The possibilities are endless! What a fun way to have birds of a different feather flocking together! Start here and be sure to read the Notes section for these great tips and more!
Some stores even have an indication on the skeins that they are used for knitting slippers. For a novice needlewoman who is puzzled by the question of how, it is best to get comfortable with a specific example.
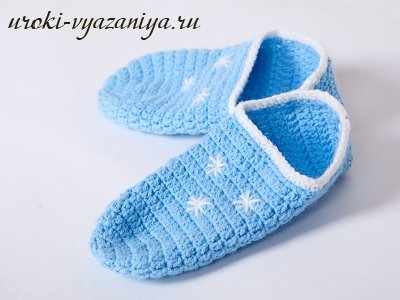
Beautiful and interesting slippers will fit perfectly on your feet and please the eye. However, initially the leg is measured in height and width, and a pattern is made based on the measurements. To understand how to calculate a pattern and make it, pay attention to the photo below.
Follow along with this video tutorial to learn how to make these booties. If you have any confusion or difficulty reading this pattern, watch the video tutorial for visual instructions. Slippers: Make 2 in total. Don't join. Don't join -. Fix. Note. If you do big sizes, repeat alligator stitch stitches to increase the length of your sides.
Secure a long tail for sewing. Side Feathers: With White Repeat the same side feathers as the Flamingo. Assembly step: embroider the beak with the face and embroider the eyes. Sew the neck and back of the neck to the booties. Crown: With a gold start with a long tail for sewing when you make your slip knot.
Slipper pattern
Let’s say a person makes slippers as a gift, and he cannot try on the recipient’s feet, then a sign will help.
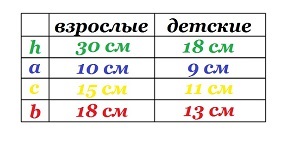 size table
Crocheting slippers yourself is easy; even inexperienced craftswomen can usually do it. When all the necessary preparations are made and selected, we begin to make the slipper.
The amount you pay does not change. Do any of you have projects that you're working on a little here and there but don't seem to finish? For some reason it followed a pattern. But it's okay because spring is the perfect time to release this picture! Still cool enough to need something on cold little feet, but Marine theme These cute baby slippers are also springy.
I don't have too many hard floors in my house, but make sure you make them non-slip so your little buddy doesn't slip and fall! Remember: You may use this template to make and sell, but do not republish or redistribute this template in any way. Please share my blog links!
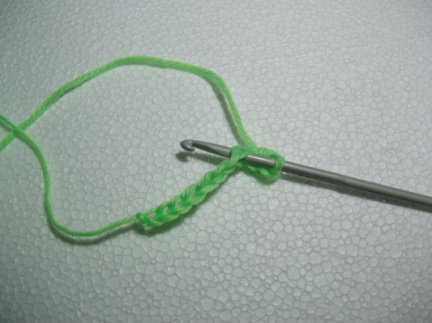
- First we do the heel. We cast on loops in the quantity required.
- We look at the patterns to clarify their number and density.
- After this we crochet single crochets.
- Add one stitch on each side until you complete the heel.
- Next, we will make the fabric to the middle of the foot and again add one loop from the beginning, and then at the end of the row.
- We knit our fabric to the end of the little finger.
- After we do this, we decrease on both sides evenly by about 3 or four loops.
Now we step by step create top part slippers.
Start with a new color on the markers. Merge into the next street on top of your shoes. Untie it, leave a long tail. Cl in the same art. Queue. Tie and leave a long tail. Off the hook. Starting with the next one, everything is around the belt. Tie and leave a long ponytail. Using a yarn needle and the tail of your scrap. Line it up and go in and out, catching the stitches on the boot and the corresponding loop in the flap. Be careful to secure the sides of the flap where the top is on the side.
Finish by taking a piece of white yarn and making lace. Start at one side and work your way down through the loop hole at the top, and out just under the lace loop. From there, move in and out evenly until you reach the other side and exit another lace loop. Laces can be used to tighten your baby's legs.
- We make it from the bottom up, making decreases.
- We cast on as many loops as necessary.
- We knit single crochets, and in the middle we decrease every 3 rows.
- We continue our knitting until we reach the height we need.
- All that remains is to assemble the product. We connect the sole and the upper part.
- And along the edges we knit connecting posts.
- When we have made the slippers, we knit a second one.
- If this is your first time crocheting slippers with your own hands, you can first use one color. But then you can make multi-colored ones - from two or 3 tones.
- At the end of knitting, we decorate our slippers with pom-poms or.
These are the cute slippers you should get:
I hope you enjoy the baby slippers! I love that my little one loves wearing it! How's this free sample?! This slipper crochet pattern is made using Bernat's Bernat blanket and takes just 10 quick rounds. It feels like you're walking on cloud 9 in these plush slippers.
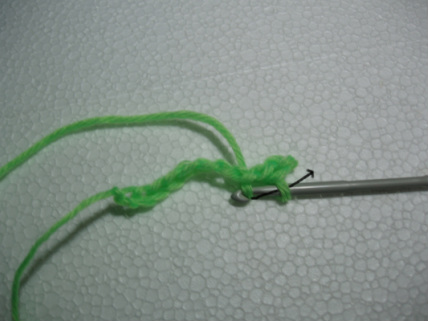
Preparing for work
Women's sizes 5-5. Pull the yarn through one loop. Pull through and pull the seam and loop onto the hook. Pull the yarn through the stitch. The yarn is pulled through two loops. The yarn is pulled through three stitches. Insert the hook in front and behind and around the stitch. Pull through all the loops on the hook. The yarn tightens all the loops on the hook.
Slipper squares are used as part of the motif. You can make other things with the same squares - for example, a scarf, and more. Now let's move on to the example for slippers.
 DIY square slippers
Be sure to work in the same stitch as the slip to start each round.
- This pattern works from the sole.
- This pattern is made in rounds.
- The final stitches are listed at the bottom of the post.
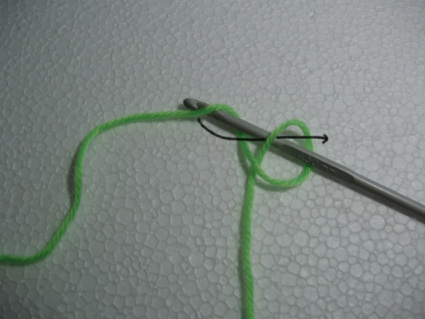
Take the hook thread and pass it through the loop in the direction indicated.

Now pull the two ends of the thread and tighten the knot that is formed. 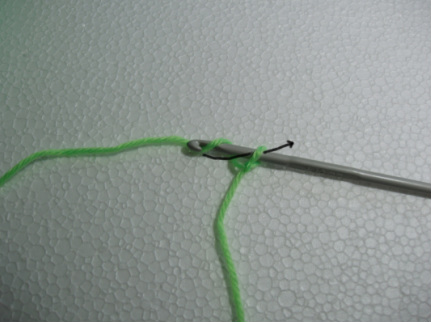
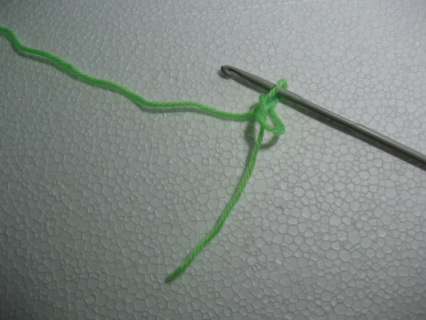
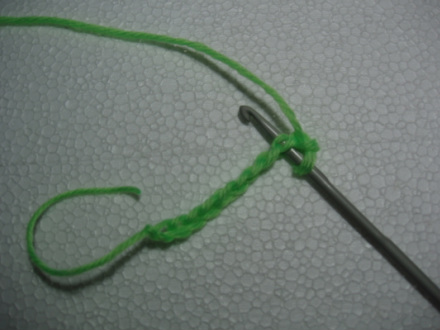
And now you can start creating a chain, that is, a base. Take the thread with the hook and let it go into the boot, like this. 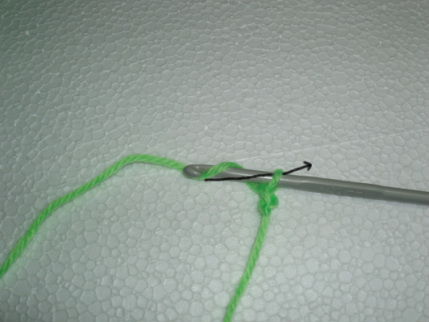
Then do it again, that's who we are. 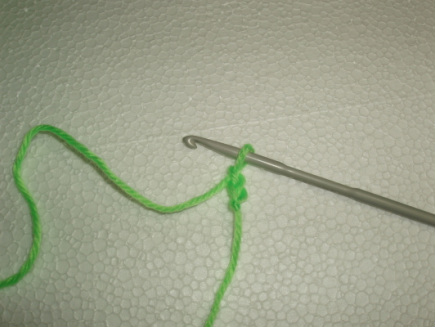
And you have already made two chains. The result should be as follows.
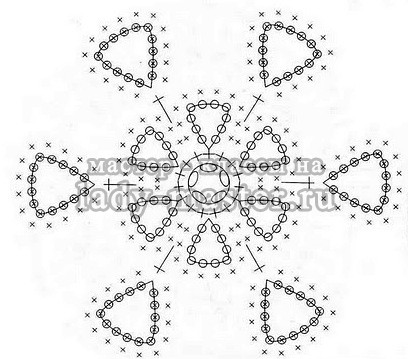
Don't forget about the pattern for the slippers - you definitely need to make it. Then we knit motifs, while choosing simple schemes for knitting slippers for beginners, or you can use the one below.
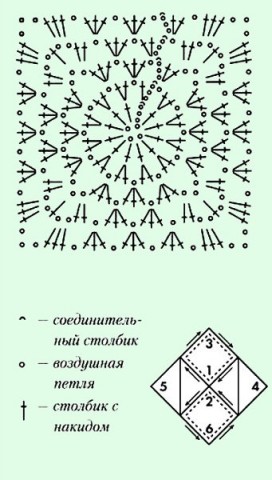
Knitting pattern for slippers
This knitting square is called a grandmother's square. To create it, create a chain of 4 loops and make a circle. The beginning of the row consists of three lifting loops, and at the end there is always a connecting post. Further, at the beginning it is knitted less than in the next arc.

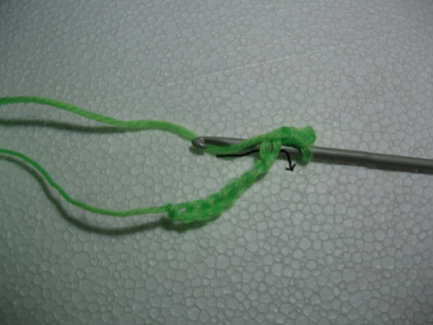
The very low point or very small grid you want is mainly used to connect to the previous circle or to advance the work without creating thick ones; is an almost invisible point. Take the basic chain you just learned how to do.
Insert the crochet hook into the first chain of the crochet hook so that. 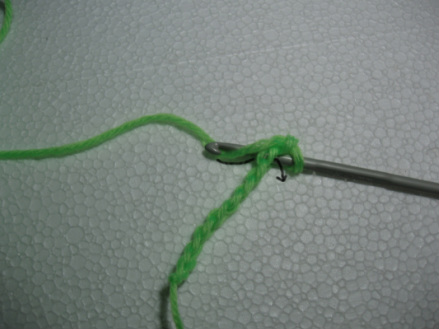
Take the thread with the hook and let it go through the same second chain, so. 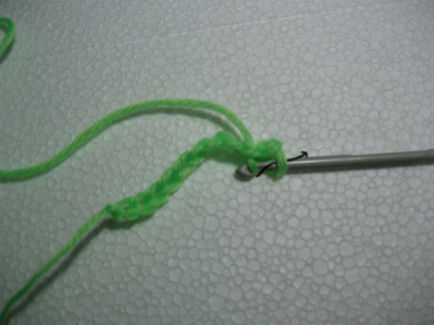
Now let it go into the jersey that is left on the hook. 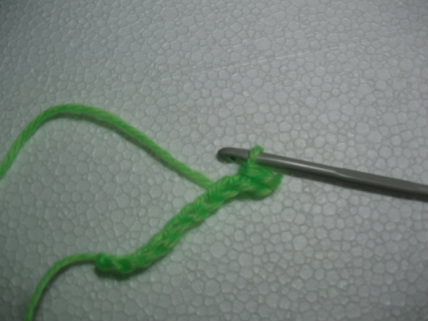
And you've made your first low point! 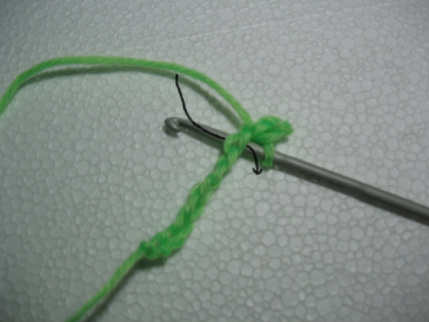
Insert the hook into the next chain, take the thread with the hook and turn it into one chain.
Perhaps you don’t quite understand how to crochet slippers with squares like these. Knitters with extensive experience advise trying to make 1 square for a sample. Then it will be easier for you to navigate.
- The first row consists of 11 double crochets, which are tied into a ring.
- In the second row, two double crochets are knitted into each previous column. These two columns are connected to the following air loops (one piece).
- The third row is done this way. In the previous row there were air loops. Of these, 3 double crochets are made, which are connected to the next three double crochets with air loops - once 3 pieces, and 2 times one at a time.
- We make the 4th row. Our instructions will help you. We knit 3 chain crochets from the third row like this: two double crochets, then 1 chain crochet, then one double crochet, again one chain crochet, and finish with two double crochets. These arcs are connected by 1 air loop. An arc was made from one air loop. We knit three columns from it and connect them to the next ones with 1 air loop.
- The fifth row will be our last. In an arc consisting of two air loops, you need to knit 3 double crochets, connect 1 time with 3 air loops. The second time we connect one air loop with the column that comes next. In an arc consisting of one air loop, we knit 3 double crochets. We connect with the next 1 air loops.
This pattern for crocheting slippers for beginners helps to create a plain square or multi-colored ones. Combine slippers as follows: using connecting posts. Combine 4 squares to create one large square, which I unfold into a diamond shape. Another similar one is applied to the edge of the lower corner, sewn together, and the heel is sewn to the sole.
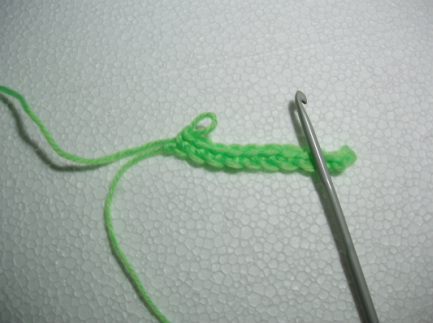
And then in a T-shirt that remained on a hook. 
That's what they should have your first two very low points. 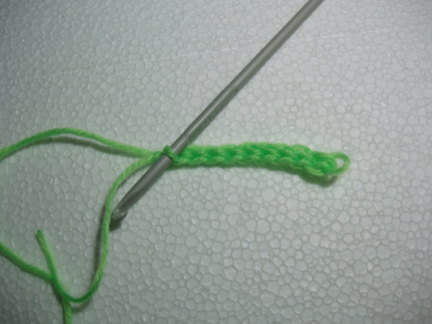
Here is the result of a series of very low points on the initial chain. 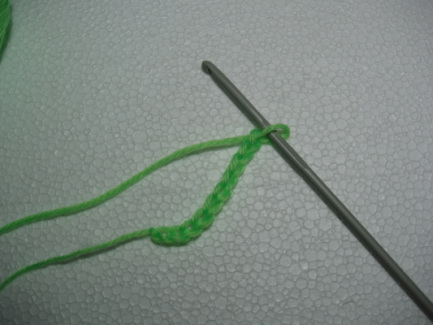
Let's start with the initial chain. 
Insert the hook into the second chain of the crochet hook, so.
Then the side triangle and heels are divided into three parts. We sew all adjacent parts together. When our slippers are ready, we tie them on top with half-columns in the amount of 1 row.
To sew such slippers without a single seam, we first knit the sole according to the pattern, which can be seen below. And our master class and sewing will come to your aid.
Methods and features of crocheting slippers for beginners
Take the thread with the hook and pass it through the same chain. 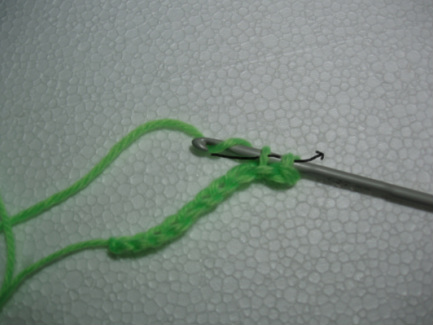
From this point on it is no longer a very low point, because the two nets on the hooks do not go into each other. They leave it there, take the thread back and go through it, and two mesh, like that. 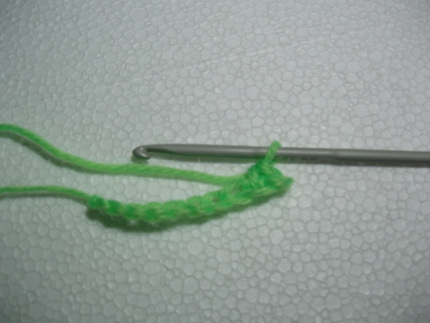
Here's the first low point.
Seamless slippers
We cast on 23 air loops, in each row there are 3 air loops at the beginning. They are needed to raise the row, so they are left.
Knitting pattern without seam slippers for beginners:

Benefits of crocheting slippers
Insert the hook into the next chain. 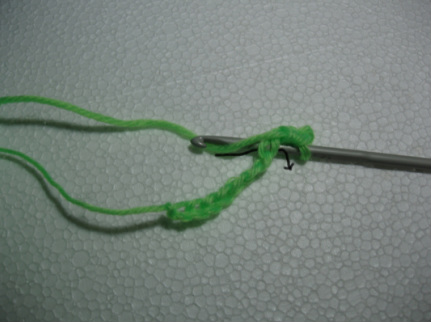
Take the thread and let it run in the same chain. 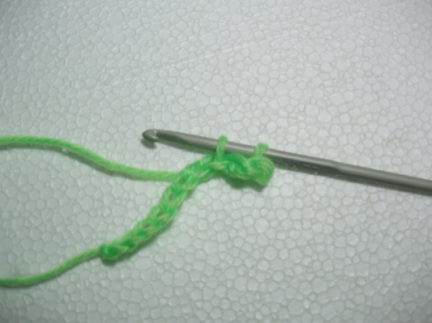
As before, there will be two nets in the hooks. 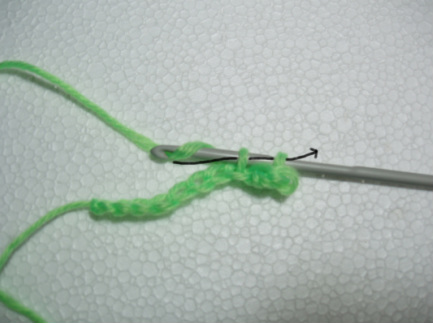

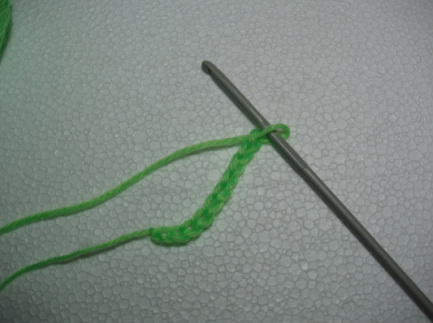
Less firm and compact than the low point, but oh, as it moves faster. We always start with a regular chain.
Knitting pattern for seamless slippers
- 1 row. We knit two double crochets, then one double crochet. Having reached the end of the chain, we knit 4 columns into the last loop. We knit a circle on the other side of the chain - 1 half-dc in each loop, then you need to knit three double crochets into the very first loop.
- 2nd row. 3 lifting loop - to create 3 double crochets. Then in a circle we knit 15 double crochets in each loop, another 20 half double crochets, then 14 double crochets, and two double crochets between the loops.
Now we need to fabricate up. We pull out 3 air loops from the heel half column. We break the thread. We knit the first row with double crochets in the amount of 56 pieces. The second row is like this: first there are three double crochets and two columns made from one loop, 5 columns and 2 more also from one loop. Next are 12 columns.
We skip one loop, make a rapport: two double crochets from 2 knitted together, two loops together with a double crochet, knit two loops together, from them we make a double crochet. Then we make 2 loops together with one column and two more columns, make a report, and knit 10 double crochets.
The third column consists of 26 double crochets, with two double crochets, then one double crochet. repeat 5 times and end with 10 double crochets.
The fourth row is almost like 3, only there are 25 columns. Similarly, 2 columns from one loop and two double crochets. Continue 6 times, then make 8 double crochets.
And finally, the fifth row, consisting of columns with a crochet, which is used to tie the slippers.
We hope you understand how to crochet slippers without a seam with your own hands. To decorate the edge of the sole, we use a step step, and then we create a second slipper. Our beautiful beginner slippers can be further decorated with embroidery or beads.
So many various models, which you can make yourself using a hook and thread: flip-flops, shoes, sneakers, in the form of some toys. To make one yourself a pleasant surprise, you just need patience, imagination and a little free time. You can also additionally watch video instructions for children's slippers and products with soles:
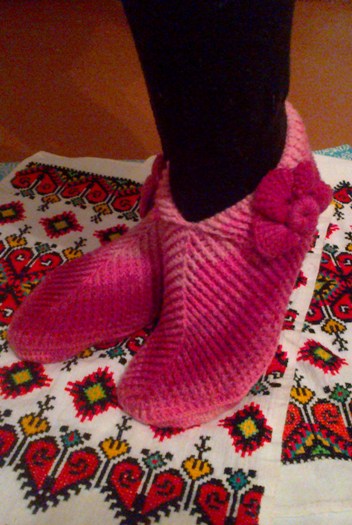
The most important item in home use is knitted slippers. Such shoes are simply necessary for comfort and coziness, and besides, your feet are always warm. After all, every person dreams of filming something like this as soon as possible. uncomfortable shoes and quickly give your feet a rest in cozy and favorite slippers. The article will present crocheted house slippers, diagrams, videos, and descriptions that will help you quickly master the technique. Such house shoes are very popular among needlewomen who dream of adding a beautiful product to their collection.
Preparing for work
Every housewife has a lot of balls of various colors in her house. You should never throw away such wonderful finds; you will definitely need them. Beautiful and bright slippers can be given as a gift for absolutely any occasion; they will become the most favorite thing in the house, because they are warm, and they also delight the eye with a variety of models and colors. The choice of models is simply huge; you can consider any option and give preference to the most suitable one. House slippers with diagrams and descriptions will be of interest to people who are interested in making them. Here are some examples:

Methods and features of crocheting slippers for beginners
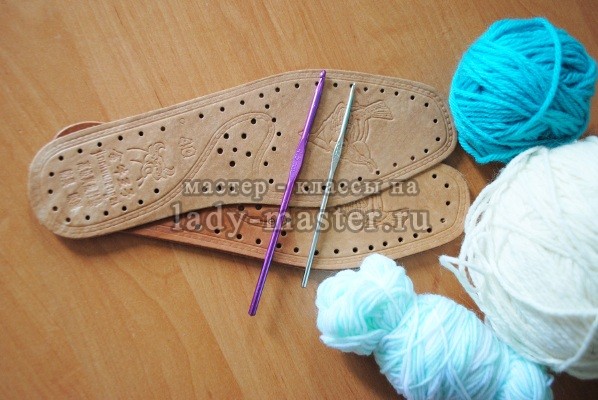
And now for those who want to know all the features of the work, it is proposed good master class. Multi-colored threads, decorations, insoles, hooks No. 2 and No. 4 will be useful in your work.
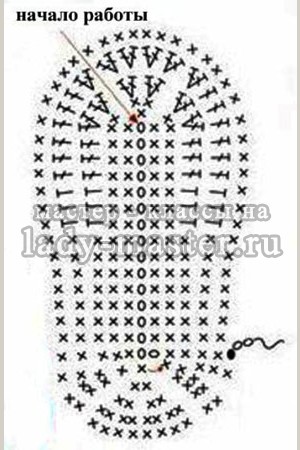
Next, you need to tie the insoles with a single crochet, there should be two columns in the hole. After tying the insoles, you need to walk around and tie them again. The next step is the sole, which will be attached to the top of the leather insole. An example of such knitting will be visible in the picture. An individual diagram is calculated for each individual size. For leg size 38 you need to cast on 27 air loops. The first two rows are knitted according to the example given; for the third row, six half-columns and single crochets and sixteen columns are taken. The bend of the leg repeats the fourth row, and the fifth coincides with the diagram.
When all initial work done, now you can start attaching the insoles to the sole. The next step is to create the top for the beautiful slippers. Let's look at the option when the toes peek out a little from the slippers. First you need to attach the thread not from the very beginning, but below, and cast on 8 air loops.
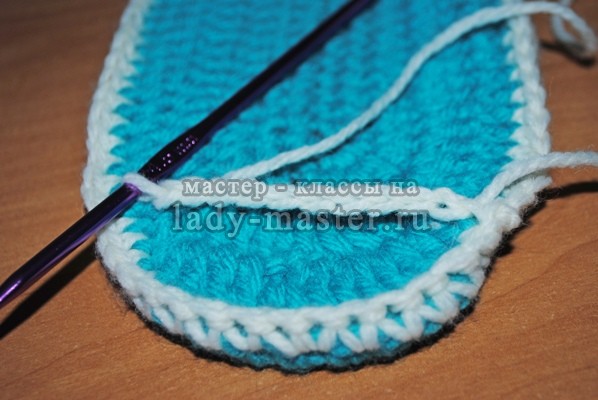
Using a post, connect the insoles on the opposite side. Add two single crochets at the end of each row. Next, turn the work over and knit the first row of the slipper without crochet. Having finished the row, you need to make two single crochets of connecting stitches, turn them over again and work to the required length. After trying on the slippers and making sure they fit perfectly, you need to start knitting the sides.
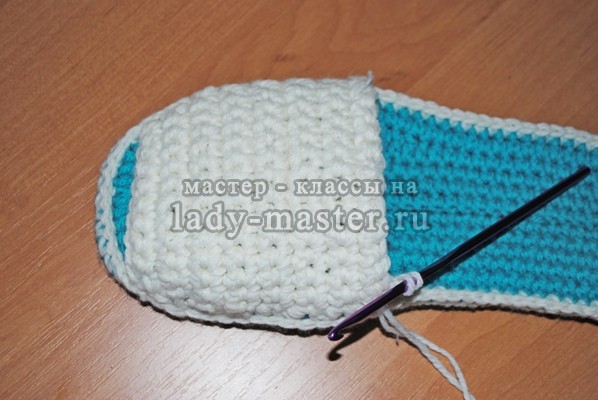
The barrels are easy to knit. To start the work, you need to do it as usual, knit five columns and turn the work over.
Important! You need to reduce the number of loops by one, make four stitches and knit until there is only one stitch left.
Connect with loops and cut the thread.
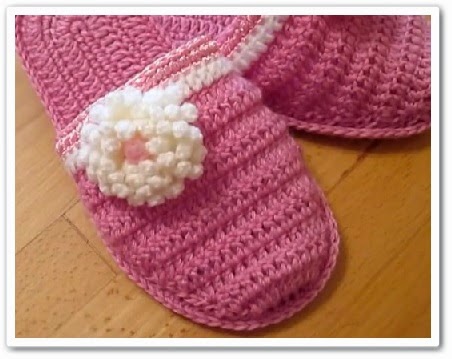
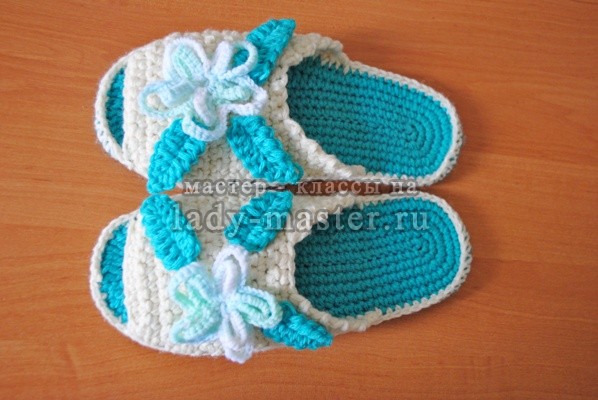
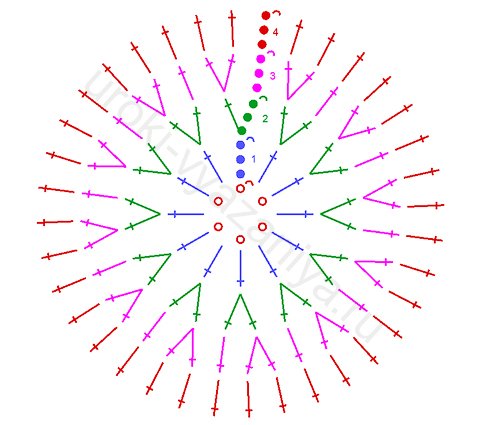
It is advisable to decorate the top of the slipper; such small details will make them modern and add a touch of individuality. A flower is best suited for this product. It is easy to knit using this pattern:
You need to cast on five chain stitches, connect them, then make ten more single crochet chain loops, also connect them. Tie a petal and create about five of these. To make the flower more voluminous, do a similar pattern again. If desired, you can add leaves. These are such excellent slippers a great gift.
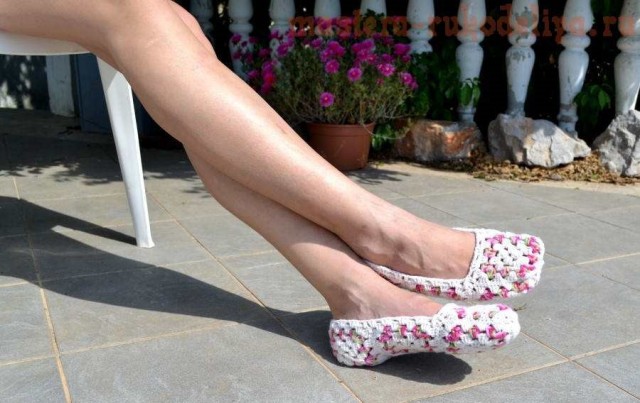
Beautiful footprints
For fans of unusual slippers, we offer a crochet pattern for original slippers. Sledki are soft slippers without durable soles. Many people love these slippers; they follow the curve of the leg and are very similar to regular socks, but more elegant. You can knit them for winter weather so that your feet feel comfortable in the boots. To knit the simplest stitches, you need a couple of hours of free time. Stock up on crochet hook No. 3 and colored warm threads. Knitting must begin from the cape in a circular pattern.
After the fourth row there is no need to add more. You need to finish each row with a connecting column with the first loop. To make a “cup”, knit ten rows without increments. Knit the sole in reverse and straight rows. Fifteenth row, three lifting air loops, twenty-one s/n columns, and again three air loops. We turn the product over and knit seven more rows in this way. After this work, turn the slippers inside out and fold them in half. Knit a row of stitches and fasten the halves. We will get a seam on the heel. Next, return the product to its original shape, tie it and you will get a wonderful pair of slips.
Benefits of crocheting slippers
Those who can easily cope with any type of needlework simply need to learn how to crochet. If the craftswoman has also mastered the crochet hook, then she simply needs to replenish her collection of products with wonderful works. Why not slippers and footprints? They are suitable for anyone as a gift or just an unexpected surprise.
Video selection
For those who still find it difficult to figure out such work on their own, it is suggested to use simple videos how to crochet house slippers for beginners.